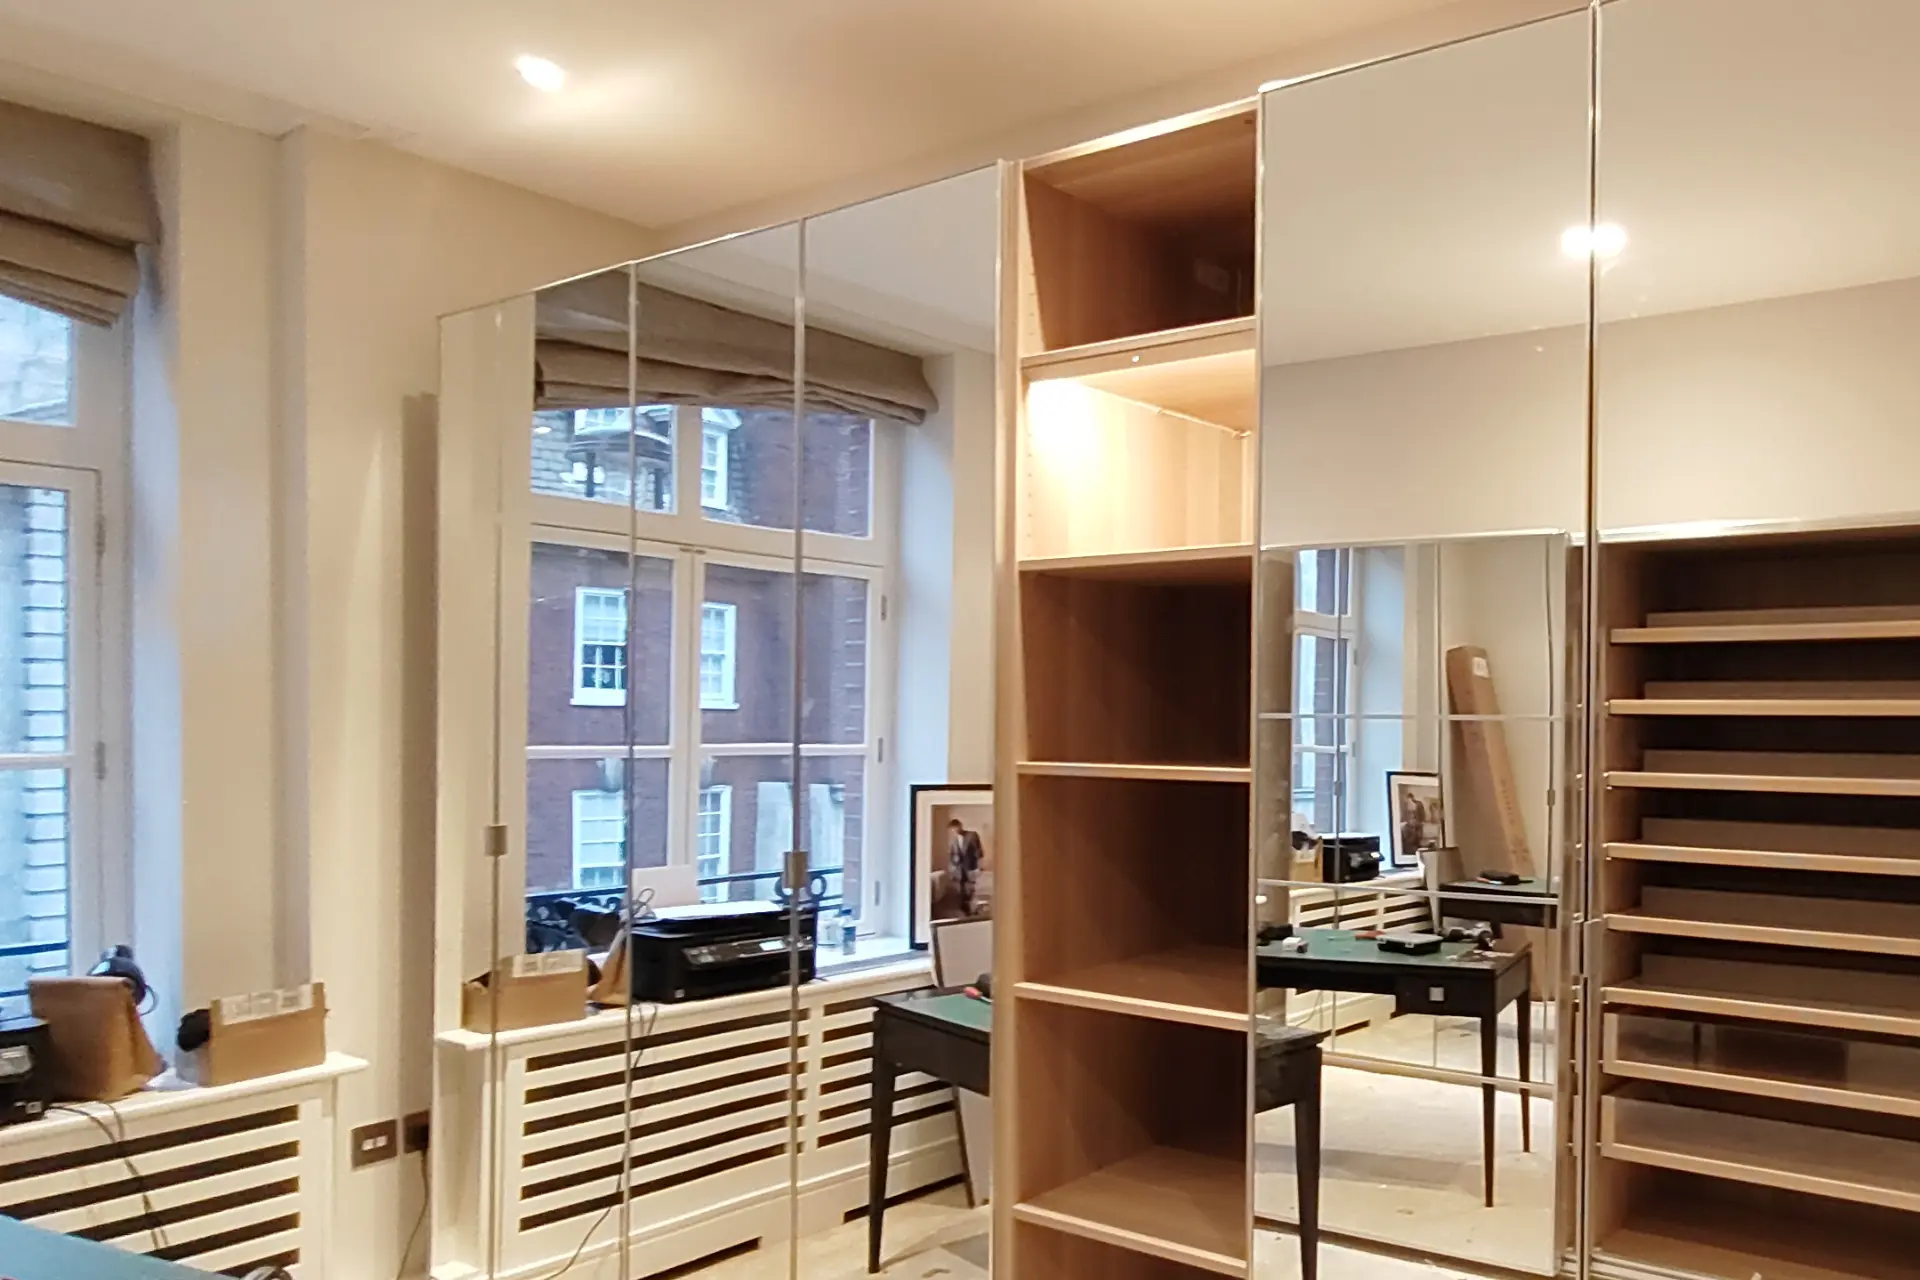
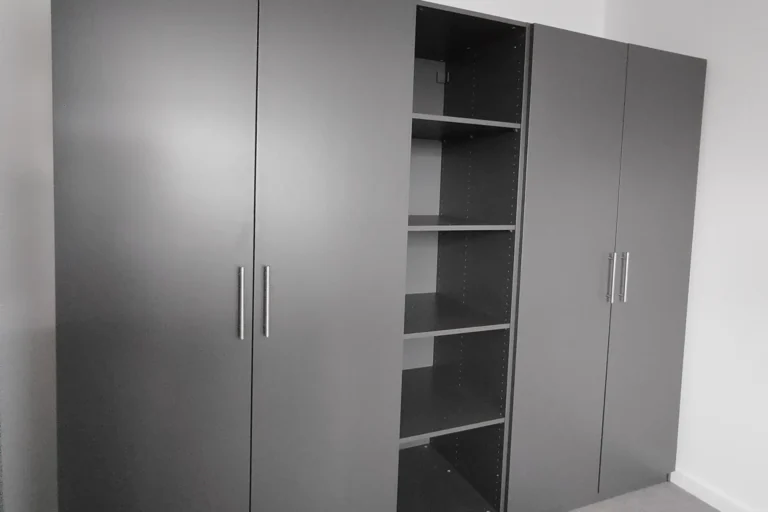
10 Common Mistakes to Avoid When Assembling Your PAX Wardrobe
The IKEA PAX wardrobe is one of the world’s most popular modular storage systems, and for good reason. Its versatility, affordability, and customisable features make it a preferred option for homes everywhere. However, assembling the PAX system can be a daunting task, especially if you’re not fully prepared. To help you create the perfect wardrobe without the hassle, here are the 10 most common mistakes to avoid when assembling your PAX wardrobe.
1. You Mess Up Your Measuring
Did you know that nearly 30% of people who bought the IKEA PAX wardrobe system actually complained about a bad fit? This is because one of the most essential steps to take in organizing your wardrobe is actually the easiest one to miss: measuring your available space. But fear not, with the right measurements, you’ll be well-prepared and confident in your assembly skills.
What to Do?
Measure twice, cut once. Measure your ceiling height, your room’s wall-to-wall space, and the depth of it. Remember, PAX wardrobes come in different heights, namely 201 cm and 236 cm, so it’s really important to know how much space you have. Ideally, aim to leave about 5 cm between the top of the wardrobe and the ceiling, and it will be so much easier to assemble.
Consider doors. Sliding doors consume more floor space than hinged doors, so always ensure you have sufficient space for the sliding door to fully open.
2. Failure to Consider Ceiling Height
Another major complaint from the customer is that they are only too late in realizing that they do not come tall enough in the ceiling to suit the taller PAX units. Approximately 15% of the assembly failures have something to do with inappropriate ceiling height.
What to Do?
Check the ceiling height before buying. For example, the 236 cm tall unit requires at least 240 cm of ceiling height for mounting at a standing level during assembly.
Those who have smaller ceilings should opt for the shorter PAX model at (201 cm). Getting it right from the beginning will save you so much headache.
3. Non Use of Wall Anchoring
Most people have no idea that nearly 60 per cent of tip-over accidents from wardrobes could have been prevented with proper anchoring. Most large furniture, such as the PAX wardrobe, should be anchored to the wall to avoid tipping over. This simple step will give you a sense of security and peace of mind.
What to Do?
Attach the safety brackets supplied with the wardrobe to the back to securely attach it to a wall if you have young children. According to its statistics, tip-over accidents are one of the most preventable accidents in your home.
4. Assembly on an Uneven Floor
Uneven floors are the worst enemies of wardrobes; however, around 20% of buyers need to check how levelled their floor is before starting the job. The instability might cause your wardrobe doors to hang askew or even make the whole unit unstable.
What to Do?
Use a spirit level to check the floor before you start. If your floor is not entirely level, you can make the wardrobe even by using furniture shims. If you’re not sure how to use a spirit level, you can find a helpful guide or video online.
Do not place your PAX wardrobe too close to sloping or unevenly surfaced areas such as attics or basements.
5. Rushing Through The Assembly Progress
You can quickly assemble an IKEA wardrobe at first glance, but nearly 40% of users make mistakes during the first process steps because they need more time to read instructions at the right pace to complete the parts.
What to Do?
Plan to spend at least 2 to 3 hours assembling one PAX wardrobe, more if you are installing several. You can reduce the time and aggravation if a friend assists you.
Read every step carefully. IKEA’s instructions are designed to be foolproof if the customer reads and follows the instructions precisely.
6. Overloading the Wardrobe
After just a few months of use, the most common complaint is that shelves sag or bend with too much weight. IKEA says, for instance, that PAX wardrobe shelves are rated at 20 kg each, but many users need to realise they are routinely overloading them.
What to Do?
Pay attention to the weight limits as stated in the assembly manual. You can reinforce the shelves with extra support brackets if you intend to keep heavy items such as books or large electronics.
Use the adjustable shelves to ensure an even weight distribution
7. Improper Planning of Interior Layout
According to IKEA statistics, interior layout is the biggest issue in the PAX system. 25% of people need to readjust shelves and accessories after building a wardrobe due to poor interior layout planning.
What to Do?
In this regard, use the IKEA PAX planning tool before you order to plan out the wardrobe layout. It lets you try out various configurations and ensures that your drawers, shelves, and hanging areas will be located just where you want them.
Remember to provide for your storage. You may have more room for hanging garments; you may need additional shelving space.
8. Not locking the sliding doors properly
Sliding doors can be confusingly installed, and improper installation might mean that doors start sticking, scraping, or jamming. Approximately 12% of PAX wardrobe problems can be traced back to malfunctioning sliding door mechanisms.
What to Do?
Read all the instructions provided very carefully when assembling the doors. Ensure you align your tracks properly to get rollers working smoothly into place.
Take extra special care in securing the frame to the sliding doors. Screws that are unevenly tightened could create a warped frame where the doors become difficult to open or close.
9. Wrong Tools
It’s hard to believe, but 10% of the problems associated with assembly are rooted in using the wrong tools or not having the right tool on hand. IKEA includes an elementary hex key, but that is only sometimes the best nor the most comfortable tool for the job.
By using the correct tools, you’ll feel efficient and resourceful, making the assembly process smoother.
What to Do?
Invest in an adjustable torque-power drill that will speed up the process and not strip screws by over-tightening.
Use the correct screwdriver size for the remaining screws.
Have a rubber mallet to push pieces into place without damaging finishes gently.
10. Not Leaving Room for Adjustments
Finally, many must remember to make tiny adjustments once their PAX wardrobe is fully assembled. A survey estimated that around 18 per cent of the buyer market for wardrobes complained that their wardrobe doors needed slight realignment after assembly due to settling or uneven surfaces.
What to Do?
Once your wardrobe is up, use the adjustable hinges to fine-tune the doors. IKEA has ensured that the flexible hinge system on its PAX wardrobe allows for easy adjustments even after installation.
Check that it’s still straight after a week or two if on an unlevel floor.
Bonus Tip: Using the IKEA Assembly Service
You’re not alone if you’re still intimidated by assembling your PAX wardrobe. A recent survey found that nearly 25% of IKEA shoppers use professional assistance to make more oversized furniture items like wardrobes.
IKEA offers expert assembly for £35 in your hourly location, saving you hours and the possibility of messing it up.
Key Takeaways: How Not to Screw Up Assembling the PAX Wardrobe
- Measuretwice so the PAX will actually fit in the room; both ceiling height and wall
- Secure your wardrobe. Safety precautions first, as well as securing yourwardrobe from tipping.
- Planyour Utilize the tools at your disposal from IKEA to avoid debilitating layout headaches down the road.
- Read on step by step and, therefore, avoid wasting hours later on.
Avoid these common pitfalls and your wardrobe assembly will go off without a hitch-worry free, efficient, and seamless. Do it yourself or hire a professional-the best planning produces flawless, tailored storage solutions.
Contact Us
Ready to get started? Contact The Italian Tasker today for all your furniture assembly solutions in London. We’re here to make your life easier and your home more functional and beautiful.


