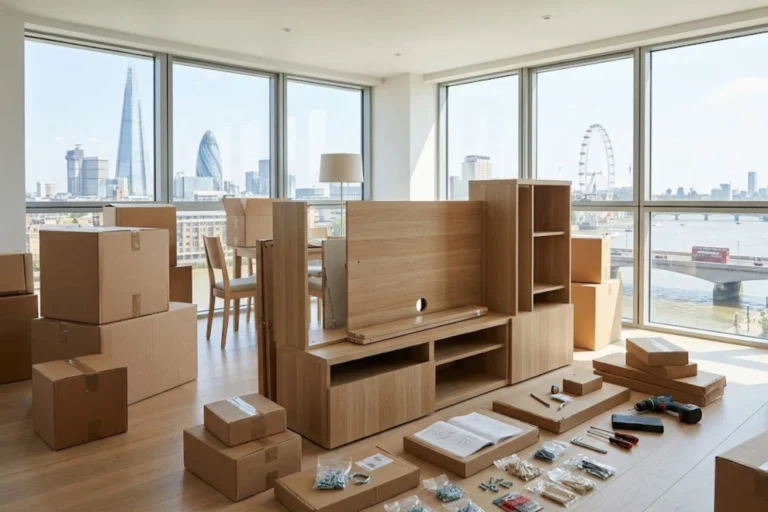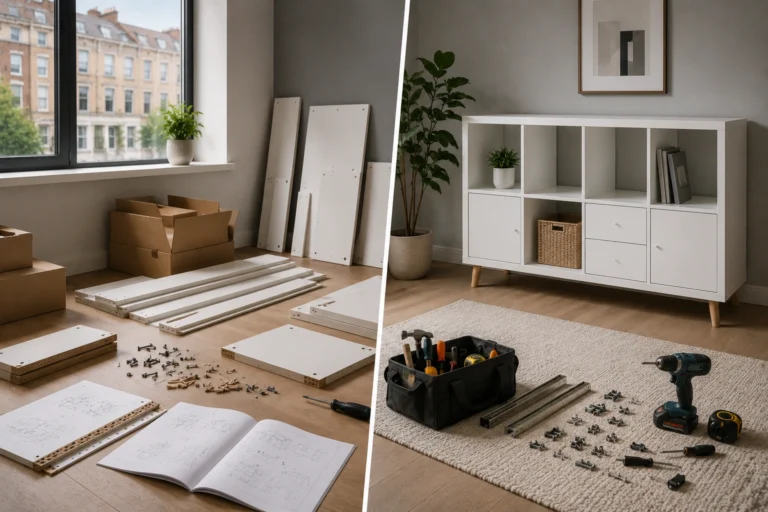
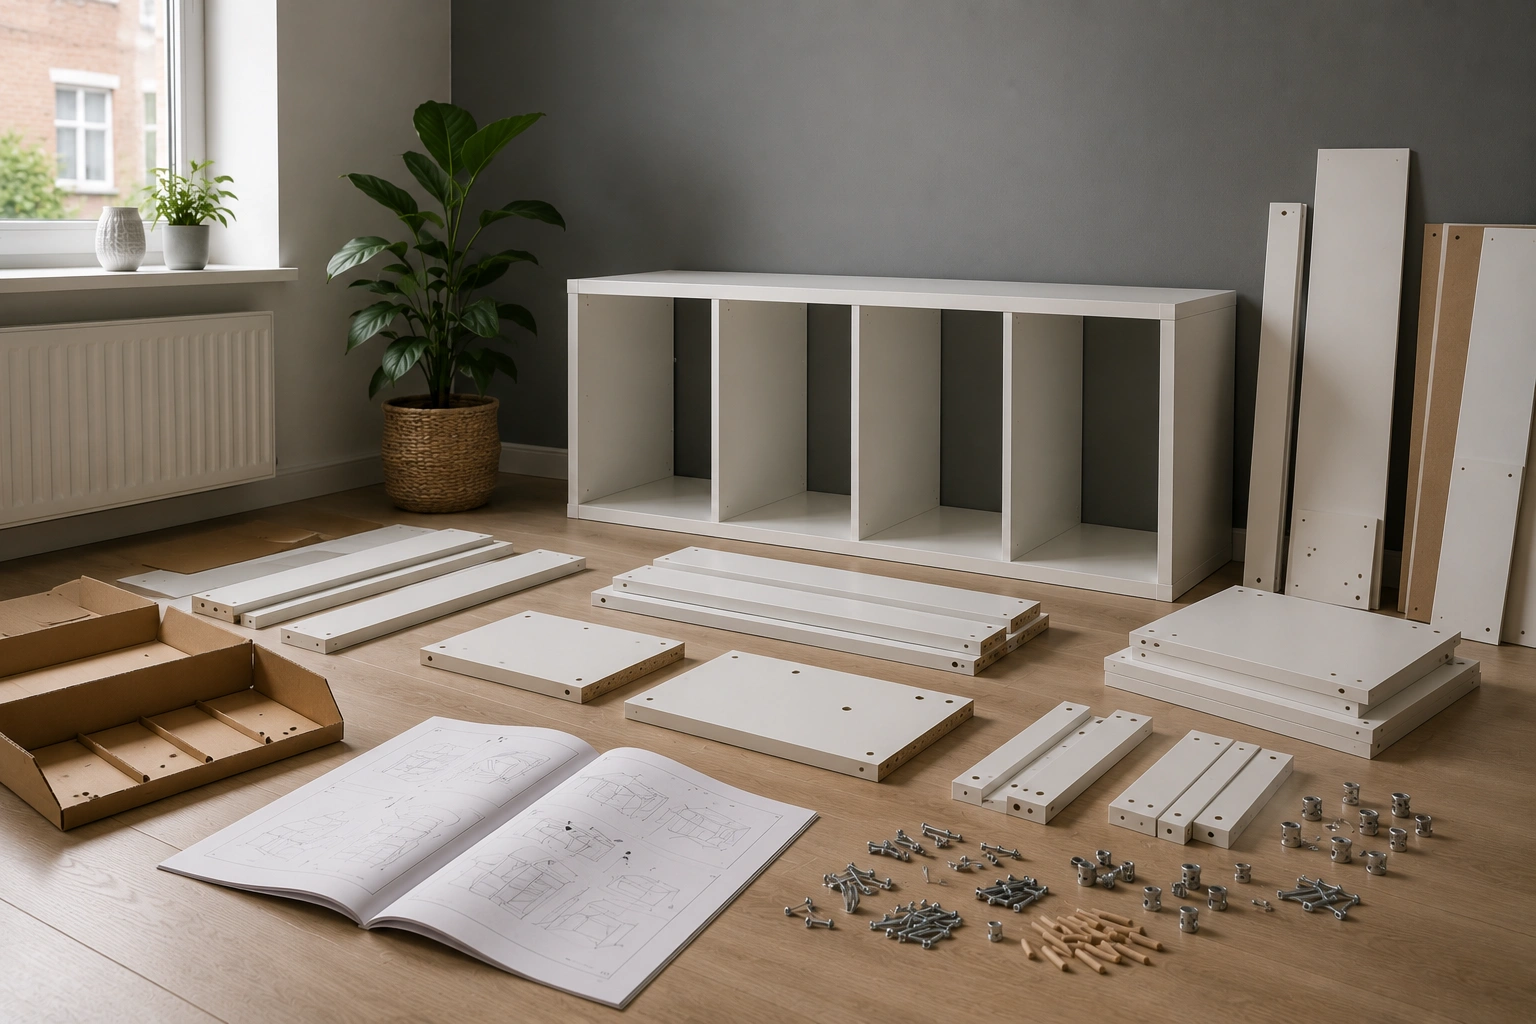
How to Assemble a PAX / GRIMO Wardrobe in London?
The IKEA PAX / GRIMO wardrobe combination is a flexible storage system made from PAX wardrobe frames with GRIMO doors and different KOMPLEMENT interiors. IKEA sells several sizes and layouts, so the exact parts can vary between combinations. For example, one current UK configuration measures 150 × 60 × 236 cm and includes two PAX frames, three GRIMO doors, shelves and clothes rails.
Good preparation makes PAX / GRIMO Wardrobe combination furniture assembly in London much easier. Before starting, check the exact product configuration, sort the parts and read the relevant IKEA instructions.
Before You Start
Open the boxes carefully and check the panels, fittings, doors and interior parts against your instructions. Do not start if anything appears damaged or missing.
Clear enough floor space to handle the long panels safely. Protect the floor with a blanket or sheet, especially when working with finished surfaces. Measure the room, doorway and available ceiling height before assembly.
PAX configurations can have different height requirements. Some current 236 cm combinations can be assembled upright where the ceiling is at least 237 cm, while other configurations have different requirements. Always check the instructions for your exact product.

Tools and Equipment You May Need
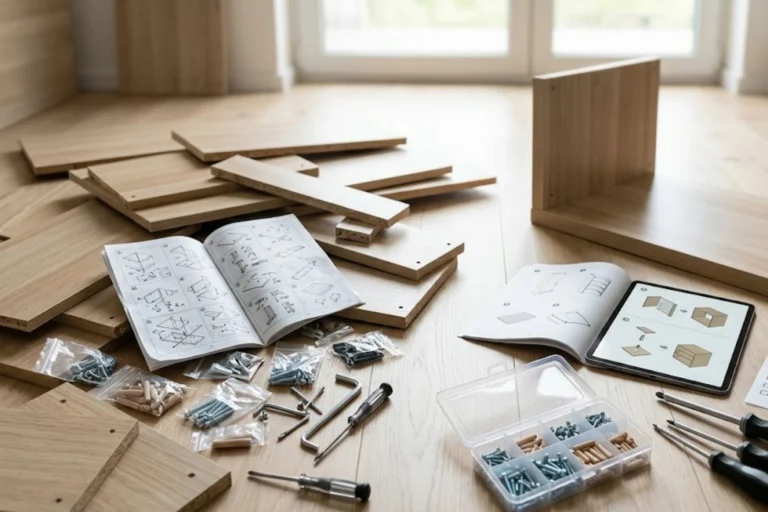
Keep the IKEA instructions close throughout the build. Depending on your configuration, you may need a screwdriver, tape measure, spirit level and protective sheet. Use only suitable tools and avoid forcing screws or fittings.
The exact fixing method for securing the wardrobe to the wall depends on the wall material. IKEA states that different walls require different fixing devices, so do not assume that one type of plug or screw suits every home.
Product Assembly Step by Step
1. Organise the Components
Separate the PAX frame parts, GRIMO doors, hinges and KOMPLEMENT accessories. Keep similar fittings together so screws are not mixed up.
2. Check Panel Orientation
Look closely at the holes, edges and finished surfaces before joining panels. A panel fitted the wrong way can cause problems later, so check its position against the IKEA diagram before tightening anything.
3. Build the Main Structure
Assemble each PAX frame in the order shown in the PAX frame instructions. PAX frames use a foldable construction that can help with positioning the frame where it will stand. IKEA states that two people are needed for assembly.
4. Check and Align the Frame
Once the main sections are together, check that they sit correctly and are level. Use the adjustable feet where provided to help compensate for an uneven floor. Do not rush this stage because poor alignment can affect the doors and interior fittings.
5. Install the Doors and Interior
6. Complete the Final Fixing and Safety Checks
Check every required connection before loading the wardrobe. The finished furniture must be securely anchored to the wall. Do not use the wardrobe until the required safety fixing has been completed.
Common Assembly Mistakes
Common problems include using the wrong screw, reversing a panel, tightening fittings before the frame is correctly aligned and fitting doors before checking the frame position.
Do not force a component that does not fit. Stop, compare the parts with the instructions and check the orientation. Also avoid moving a large assembled wardrobe without following IKEA’s guidance.
Furniture Safety and Stability
IKEA warns that PAX furniture must be securely anchored because of the risk of tipping. The correct screws and plugs depend on the wall in your home. If you are unsure about the fixing method, seek suitable professional advice.
This is also consistent with UK government consumer-safety guidance, which advises that heavy furniture should be attached to the wall to reduce the risk of tipping.
Keep children and pets away while assembling large panels. Get help when lifting or positioning tall sections, and never improvise a wall fixing that is not suitable for the wall material.
Final Inspection Checklist
Before using the wardrobe, check that all required fixings are installed and the frame is stable. Make sure the doors, drawers and other moving parts operate correctly. Check for loose fittings, unexplained leftover components or unusual movement.
Expert Assembly Tips
Keep the instructions beside you rather than relying on memory. Sort hardware before starting and protect finished panels during the build.
Take your time with alignment, especially before installing doors. If a component does not fit, stop and check the diagram instead of applying extra force. For taller configurations, plan the lifting and positioning stages before assembling large sections.
When Should You Hire a Professional?
Professional help can make sense when the wardrobe is tall, the room is small or you do not have enough space to handle large panels safely. It can also help when wall anchoring, alignment or several interior components make the job harder.
For customers looking for furniture assembly in London, an experienced assembler can handle the frame, doors, interior fittings and final stability checks while reducing the need to work through a large flat-pack build alone.
A Safer Approach to PAX / GRIMO Assembly
A good wardrobe assembly is about more than following pictures. It means identifying every component correctly, building the frame in the right order, checking alignment, handling large panels safely and completing the required wall anchoring.
Take a final look at every connection before putting clothes or other items inside.
Would you rather spend your time working through a large wardrobe build, or have an experienced assembler take care of it?
Frequently Asked Questions
1. Is the PAX / GRIMO wardrobe difficult to assemble?
It can be a detailed job because the combination may include several frames, doors and interior fittings. Following the correct IKEA instructions and working in stages makes the process easier.
2. How many people are needed to assemble it?
3. How long does assembly take?
The time depends on the size, number of doors and interior fittings. A larger combination with several storage components will naturally require more work.
4. What should I do if parts are missing?
Stop assembly and check the package contents against the IKEA instructions. Do not substitute an unknown screw or fitting.
5. Can I assemble it in a small bedroom?
Yes, but you need enough room to handle the panels safely. Measure the available space and check the required ceiling height before starting.
6. Why are my wardrobe doors not aligned?
Check that the frame is level and correctly assembled first. Then check the hinge position and make adjustments according to the IKEA instructions.
7. Can the doors be fitted after the wardrobe frame?
Yes, the doors and hinges are fitted as part of the later assembly stages, but the exact sequence should follow the instructions for your configuration.
8. Does the wardrobe need to be fixed to the wall?
9. Should I use my own screws and wall plugs?
10. When is professional assembly worth considering?
Professional help can be useful when the wardrobe is large or tall, the room has limited working space, or you are unsure about alignment and wall anchoring.