How to Assemble the HAUGA Wardrobe with Sliding Doors?
The HAUGA Wardrobe with sliding doors furniture assembly London process becomes much easier when you prepare the workspace, identify every component and follow the manufacturer’s instructions in sequence. The HAUGA wardrobe measures 118 cm wide, 55 cm deep and 199 cm high, so planning the available floor and ceiling space is particularly important before assembly.
Because this is a tall wardrobe with sliding doors, accuracy matters. A frame that is not properly aligned can affect how the doors operate, while incorrect assembly can create stability and safety issues.
Before You Start
Begin by checking all three packages and inspecting them for visible damage. IKEA currently lists the HAUGA wardrobe as being supplied in three packages, with individual packages weighing up to around 30 kg for the UK white version.
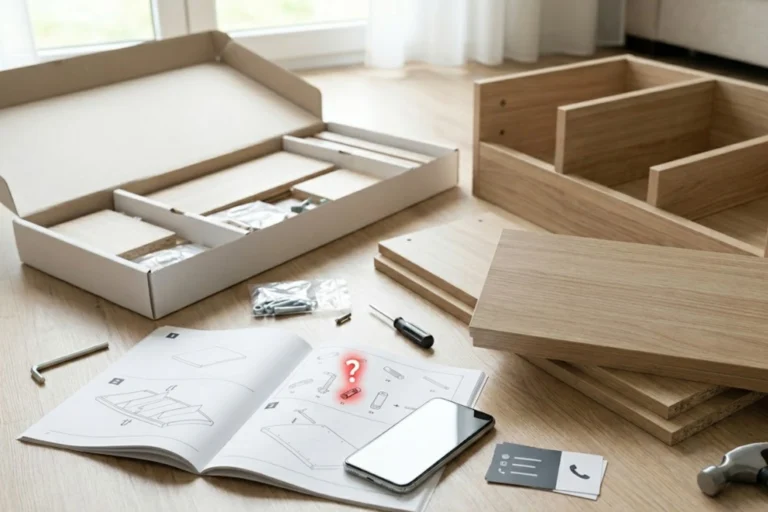
Read the complete assembly instructions before opening every fixing. Separate the panels, rails, shelves and hardware so similar-looking components do not become mixed up.
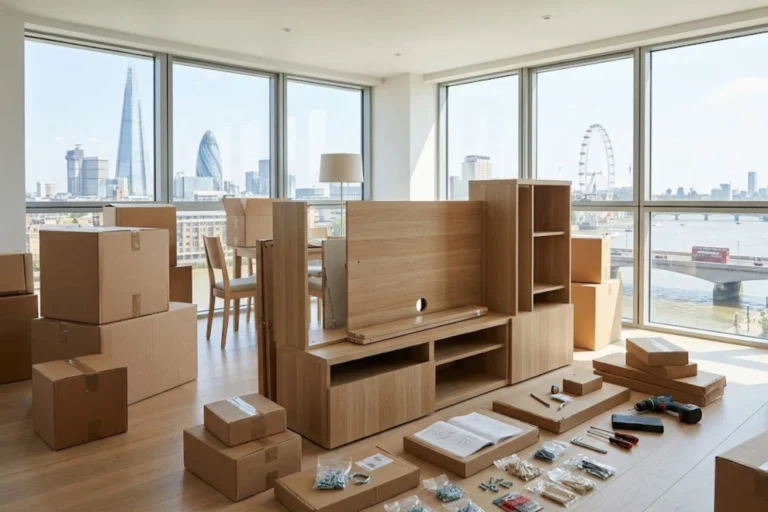
Measure the room before starting. Make sure there is enough working space to handle the long panels and enough clearance to position the completed wardrobe safely.

Tools and Equipment You May Need
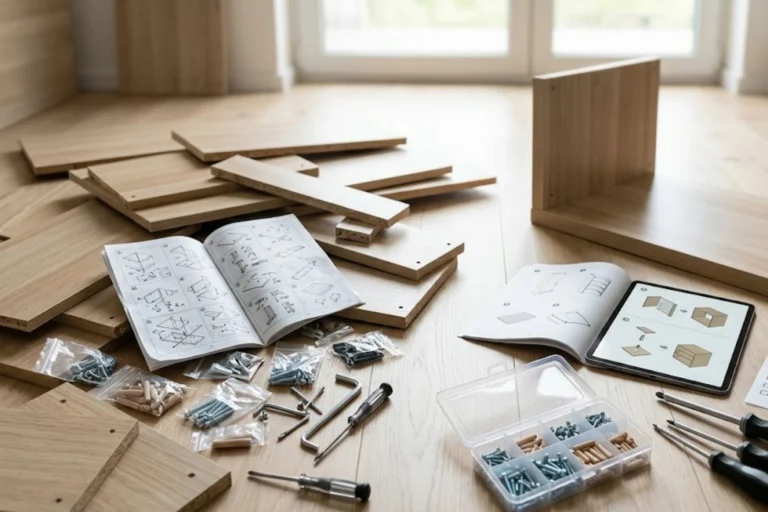
The exact tools should always follow the manufacturer’s instructions. Depending on the stage, you may need a suitable screwdriver, hex key, tape measure and spirit level. A protective sheet or blanket can also help prevent scratches when panels are placed on the floor.
Avoid using excessive force. If a screw, dowel or other fitting does not seem to fit, stop and check the part number, orientation and previous assembly step.
HAUGA Wardrobe Assembly Step by Step
1. Organise the Components
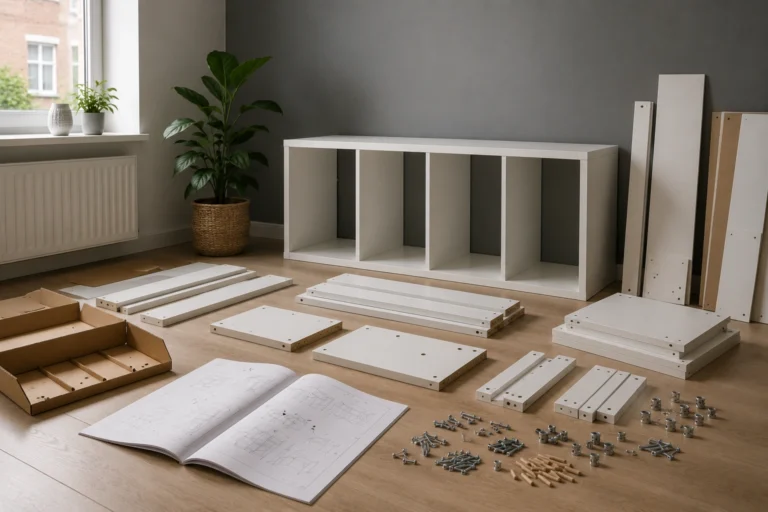
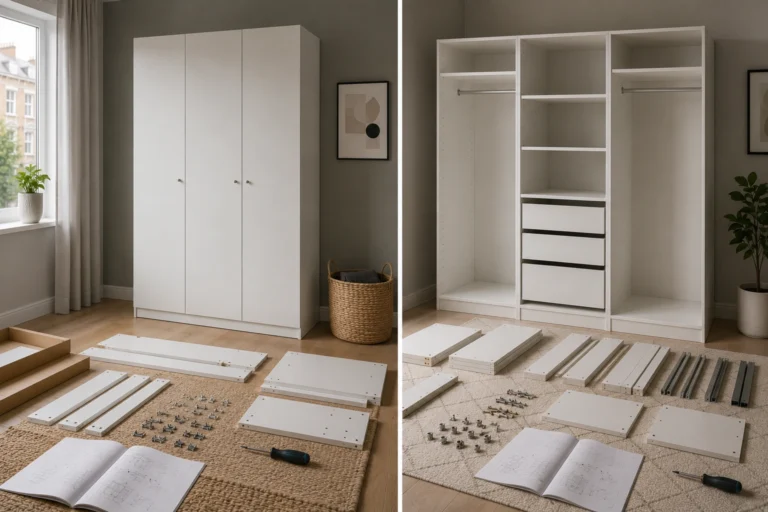
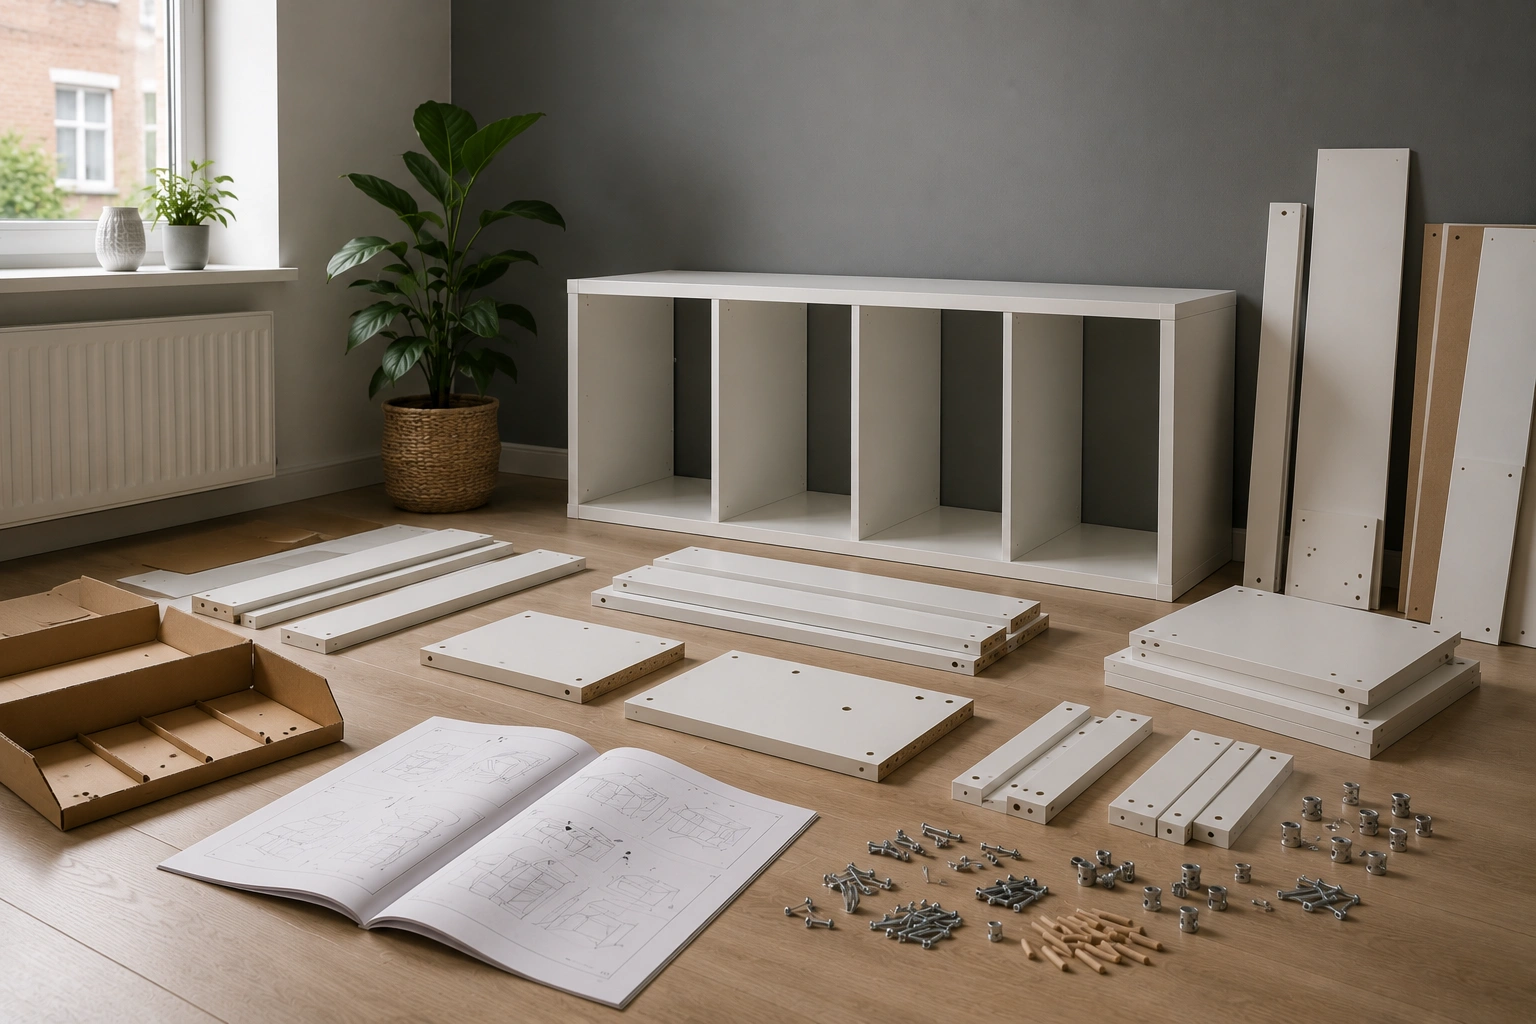
Lay out the components and identify them against the instructions. Keep different fixings separated so that screws or other hardware are not accidentally substituted.
2. Check Panel Orientation
Before joining panels, identify which surface faces outward. Look for pre-drilled holes, grooves, finished edges and other details shown in the instructions.
A reversed panel can force you to dismantle several completed sections later.
3. Build the Main Structure
Follow the manufacturer’s sequence for connecting the main panels, base, top section and internal components. Keep the structure supported while larger pieces are being connected.
Do not automatically tighten every fixing as hard as possible. Some connections may need minor adjustment while the structure is being aligned.
4. Check the Frame
Use a spirit level where appropriate and check that the structure is sitting correctly. Alignment becomes especially important before installing the sliding-door components.
If something does not line up, investigate the previous steps instead of forcing the parts together.
5. Install the Sliding Doors
Follow the supplied instructions for fitting the door components and sliding mechanism. Make sure each door is positioned correctly and moves smoothly without unnecessary resistance.
If the doors appear uneven, check the frame and track installation before attempting repeated adjustments.
6. Complete the Final Fixing and Safety Checks
Once the structure is correctly assembled and aligned, complete the required fixings. IKEA states that this HAUGA wardrobe must be anchored to the wall with the enclosed safety fitting to reduce the risk of tipping. The correct wall fixing depends on the wall material.
Common Assembly Mistakes
One of the most common problems is using the wrong fixing because two screws look similar. Reversing a panel or confusing left and right components can create an even bigger issue later.
Another mistake is tightening everything too early. If the frame needs adjustment, over-tightened connections can make alignment more difficult.
Do not force sliding doors into position. If they catch, sit unevenly or fail to move correctly, recheck the frame, tracks and preceding assembly stages.
Furniture Safety and Stability
The HAUGA wardrobe is almost two metres high, making stability an important part of installation. IKEA’s current product guidance carries a tipping-hazard warning and requires the unit to be anchored to the wall using the supplied safety fitting. Different wall materials require different fixing devices.
Keep children and pets away while the wardrobe is being assembled. Large panels should also be handled with appropriate assistance rather than lifted awkwardly by one person.
Final Inspection Checklist
Before using the wardrobe, check that the required fixings are installed, the structure is stable, the sliding doors operate correctly and the wardrobe is properly anchored.
Check for unusual movement, loose components or unexplained leftover parts. If anything appears wrong, return to the relevant instruction rather than assuming it is harmless.
Expert Assembly Tips
Keep the instructions beside you throughout the build. Protect finished panels from the floor, organise hardware before beginning and photograph complicated stages if you need to reposition anything.
Most importantly, stop whenever a component does not behave as expected. Forcing a part can turn a simple correction into a damaged panel or fixing.
When Should You Hire a Professional?
Professional assembly can be useful when the wardrobe is too large to handle comfortably, the room provides limited working space, wall anchoring is required or you simply do not have the appropriate tools or experience.
For customers who prefer to avoid the time and physical work involved, furniture assembly London services can provide an alternative to completing a large flat-pack wardrobe independently.
A Safer Approach to HAUGA Wardrobe Assembly
A successful build is not simply about following the pictures in order. It involves preparing the room, identifying every component, maintaining alignment and completing the required safety checks before the wardrobe is put into regular use.
Would you prefer to spend your time working through a large flat-pack wardrobe build, or have an experienced assembler take care of the installation?
Frequently Asked Questions
1. Can one person assemble the HAUGA wardrobe?
The wardrobe contains large panels and is nearly two metres high, so handling larger components may require assistance. Always follow the manufacturer’s assembly guidance rather than assuming the wardrobe can safely be built alone.
2. How long does HAUGA wardrobe assembly take?
The time varies according to experience, workspace and the number of components involved. Allowing sufficient time for careful alignment is more important than trying to complete the build as quickly as possible.
3. What if a component is missing?
Stop the assembly and compare the contents against the supplied parts list. Contact IKEA or the relevant retailer for the correct replacement instead of substituting an unrelated fixing.
4. Can the wardrobe be assembled in a small bedroom?
It may be possible, but the available floor and ceiling space can affect how safely the wardrobe can be constructed and positioned. Measure the room and review the product dimensions before beginning.
5. Why are the sliding doors not aligned?
First check whether the main structure and sliding mechanism have been installed correctly. An alignment problem may originate from the frame rather than the doors themselves.
6. Does the HAUGA wardrobe need wall anchoring?
Yes. IKEA’s current UK product information states that the wardrobe must be anchored to the wall using the enclosed safety fitting. The appropriate fixing device depends on the wall material.
7. What should I do if a screw will not fit?
Do not force it. Check the fixing, panel orientation and previous assembly step before continuing.
8. Can the wardrobe be dismantled later?
Some flat-pack furniture can be dismantled, but repeated disassembly may affect certain fixings or materials. Keep the original instructions and hardware if you expect to move the wardrobe later.
9. Is professional assembly worthwhile for a large wardrobe?
Professional help can be useful when handling large panels, working in a restricted room or completing safety-related anchoring feels difficult. It can also save time when you do not have the required tools.
10. What is the most important final check?
Confirm that the wardrobe is correctly assembled, stable, properly anchored and that both sliding doors operate as intended. Do not use the furniture if an important safety or structural issue remains unresolved.