KALLAX Looks Easy – Here’s Where People Still Get It Wrong
At first glance, IKEA KALLAX seems like one of the simplest pieces of furniture to build. Open the box, follow the manual, tighten a few screws and you’re done. Yet, people searching for ikea kallax assembly London often discover that small mistakes can quickly turn a straightforward project into a wobbly, uneven or even unsafe shelving unit.
KALLAX is one of IKEA’s most popular storage systems because it adapts to almost any room. However, the simplicity often creates overconfidence. Many homeowners rush through the process, skip important steps and end up rebuilding sections multiple times.
According to IKEA’s own assembly guidance, every step must be followed carefully, especially when securing larger units and ensuring they are properly levelled.
This guide explains the most common kallax build mistakes, why kallax level matters and how to avoid costly errors before they happen.
Why KALLAX Is More Difficult Than People Expect
The challenge isn’t complexity.
The challenge is precision.
Unlike smaller bedside tables, KALLAX consists of multiple long panels that must align perfectly. Even being a few millimetres off can affect the entire structure.
Many homeowners also underestimate the weight involved. Once loaded with books, vinyl records, storage boxes or office equipment, an incorrectly assembled unit can become unstable.
IKEA also advises wall anchoring for applicable units to reduce tipping risks, particularly in homes with children.
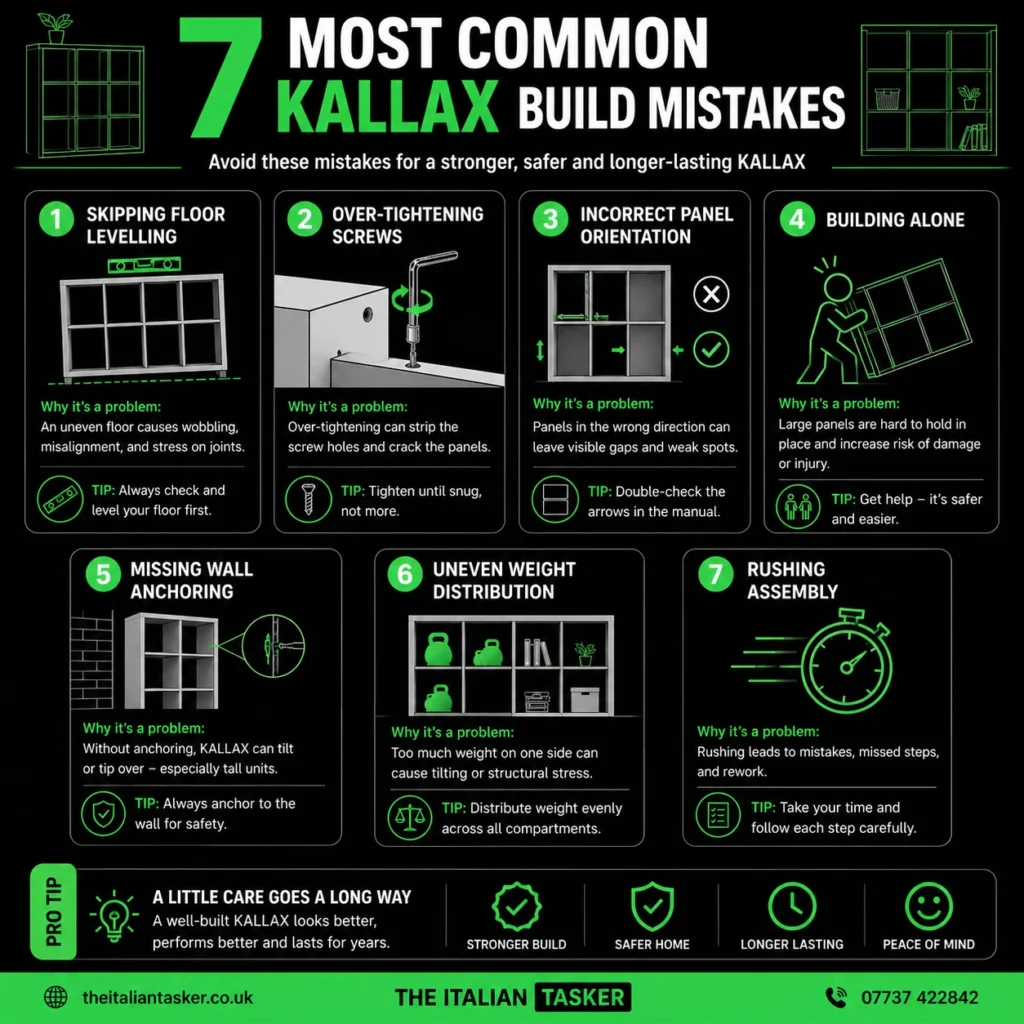
Mistake #1: Building It on an Uneven Floor
This is probably the most overlooked issue.
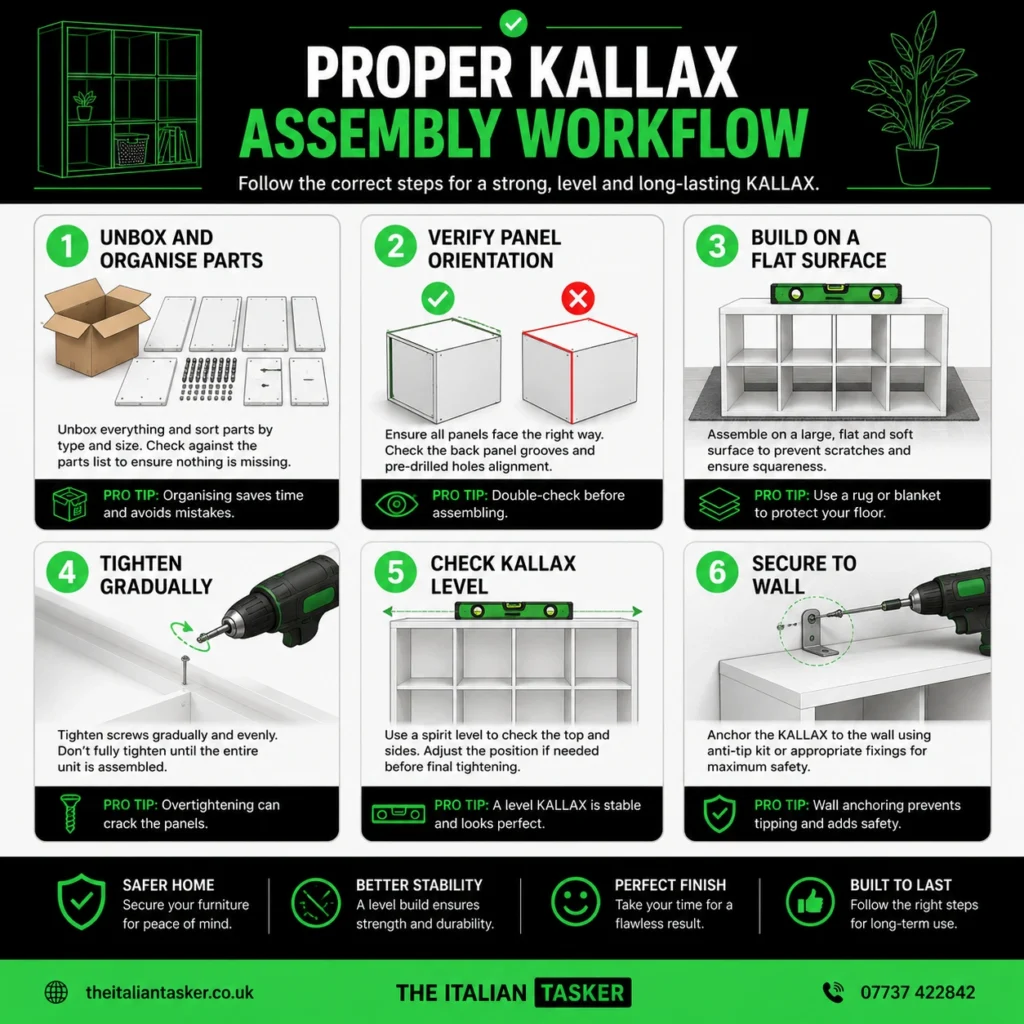
Many people begin assembly directly on carpet. Unfortunately, soft carpets compress under weight, causing measurements to shift during construction.
By the time the unit is upright, they discover it rocks from side to side.
Always assemble KALLAX on: Hardwood flooring Laminate flooring Protective cardboard on hard surfaces A completely flat area After assembly, use a spirit level to check alignment. If you skip this step, your kallax level will be compromised from the start.
KALLAX Levelling Checker
Assess stability, determine necessary wall anchoring, and calculate shims required for a perfectly level setup.
*Disclaimer: Large KALLAX units can weigh over 100kg when fully loaded with books or vinyl records. Wall anchoring is strongly advised regardless of stability rating to prevent dangerous tip-overs.
Mistake #2: Ignoring the Panel Direction
This mistake happens more often than people realise.
Several panels may appear identical but have different drilling patterns.
When installed backwards, later sections simply won’t fit.
Most DIY builders realise the error halfway through and must dismantle multiple sections.
IKEA specifically recommends carefully checking each component before moving to the next instruction.
Pro Tip
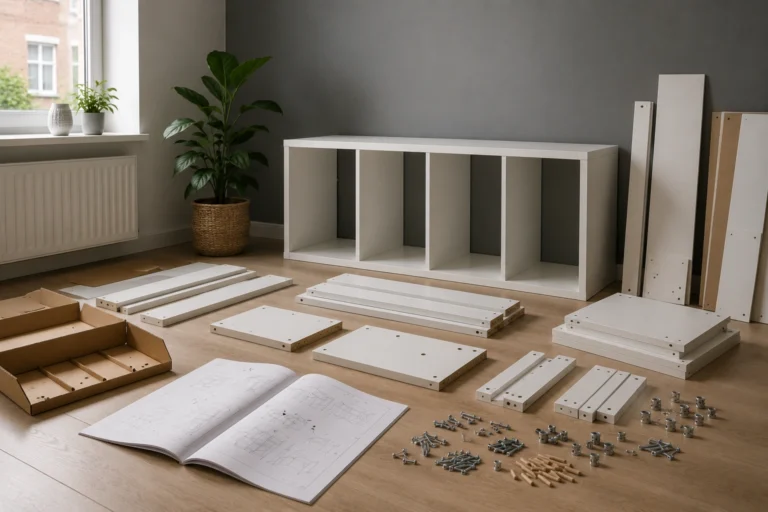
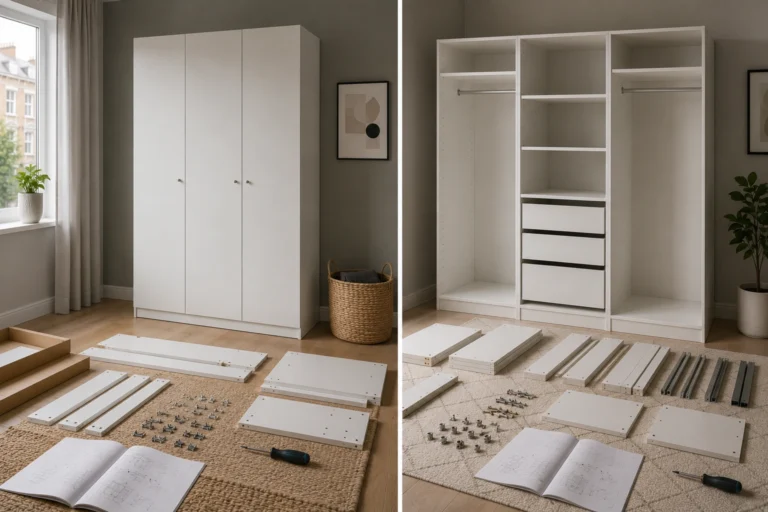
Lay out every component before starting.
Group them into:
| Component | Check Before Installation | Common Error |
|---|---|---|
| Side panels | Verify pre-drilled holes | Installed backwards |
| Shelves | Check orientation | Rotated incorrectly |
| Back support | Match instructions | Installed upside down |
| Wall brackets | Keep separate | Forgotten entirely |
Mistake #3: Over-Tightening Every Fastener
People often think tighter means stronger.
Not necessarily.
Over-tightening cam locks and wooden dowels can damage particleboard materials.
Once stripped, repairs become difficult.
Instead:
- Tighten gradually
- Alternate sides evenly
- Stop once resistance increases
This distributes pressure across the structure.
Mistake #4: Trying to Build Large KALLAX Units Alone
A 2×2 KALLAX may be manageable solo.
A 5×5 unit is another story.
Large KALLAX units become awkward to lift, rotate and align.
Attempting to do everything alone increases risks such as:
- Scratched floors
- Damaged panels
- Misaligned shelves
- Personal injuries
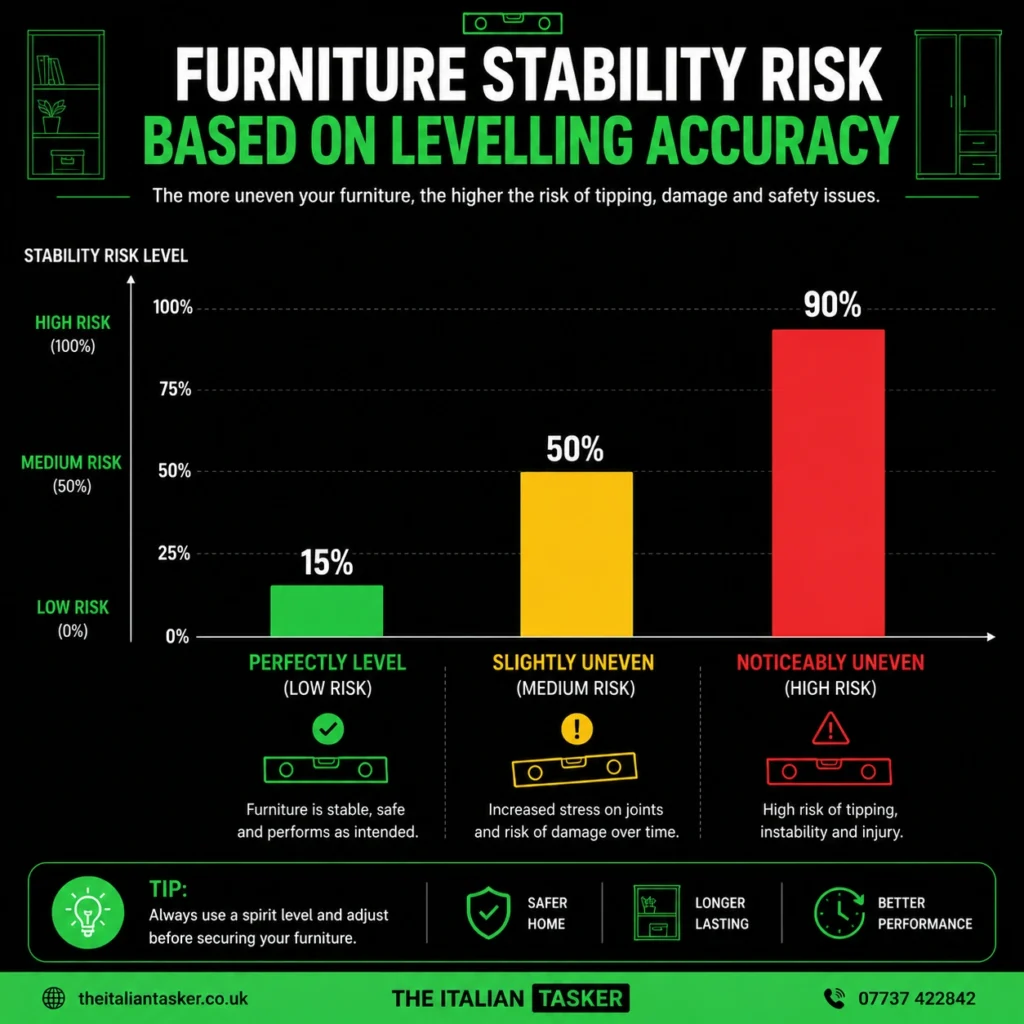
Mistake #5: Not Checking KALLAX Level Before Loading It
This is where many homeowners go wrong.
They finish assembly and immediately start filling shelves.
However, once loaded, even small imbalances become much more noticeable.
How to check proper kallax level
Use a spirit level in three places:
Horizontal shelves
Place the level on the top surface.
Vertical sides
Check both outer panels.
Diagonal stability
Gently push opposite corners.
If movement occurs, re-tighten and adjust.
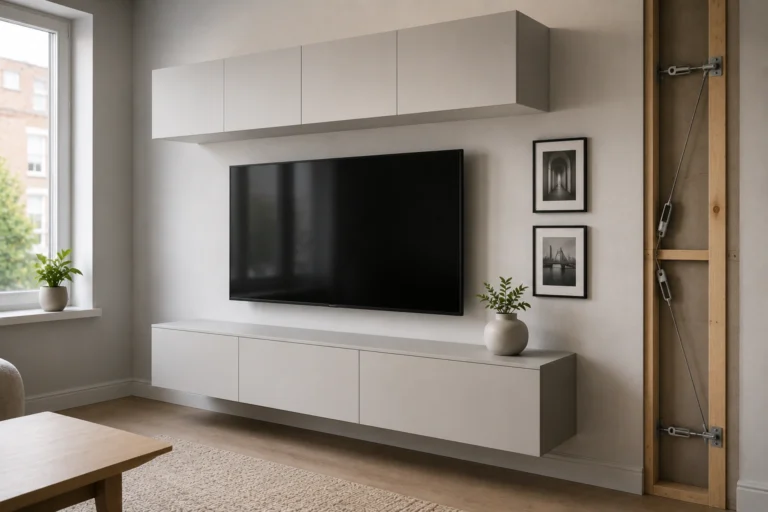
Mistake #6: Forgetting Wall Anchoring
This is one of the biggest safety concerns.
Many people assume shelving units are heavy enough to remain stable.
That’s incorrect.
IKEA strongly advises securing furniture to walls where required using appropriate wall hardware. They also explain that wall screws are not universally included because every wall material differs.
Common UK wall types
| Wall Type | Recommended Fixing |
|---|---|
| Brick | Masonry plugs |
| Concrete | Expansion anchors |
| Plasterboard | Heavy-duty cavity anchors |
| Stud walls | Wood screws into studs |
If you’re uncertain about your wall type, seek professional assistance.
Ready to get started? Contact The Italian Tasker today for all your handyman and furniture assembly needs in London. We’re here to make your life easier and your home more functional and beautiful.
Mistake #7: Loading Heavy Items on the Top Shelves
Weight distribution matters.
Many people decorate the top shelves first with books, plants and storage boxes.
This raises the centre of gravity.
IKEA recommends placing heavier objects lower to improve stability.
Better loading order
Bottom shelves:
- Books
- Vinyl records
- Office files
Middle shelves:
- Storage boxes
- Baskets
Top shelves:
- Decorative items
- Lightweight accessories
Why Professional KALLAX Assembly Is Becoming More Popular in London
Flat-pack furniture ownership continues to rise globally due to affordability and flexible living arrangements.
However, assembly remains a challenge.
A 2024 academic study analysing IKEA furniture assembly behaviour found that multi-step furniture projects involve substantial errors due to alignment, sequencing and manual interpretation challenges.
This explains why many London homeowners search for ikea kallax assembly London services.
Professional assembly helps avoid:
- Incorrect builds
- Damaged panels
- Time-consuming rework
- Safety risks
- Levelling issues
Before you build your next KALLAX, ask yourself this: would you rather spend an extra 10 minutes checking alignment and stability now, or spend the next few months trying to fix a shelf that never felt quite right? Share your biggest KALLAX challenge or tell us which mistake you've already encountered.
Ready to get started? Contact The Italian Tasker today for all your handyman and furniture assembly needs in London. We’re here to make your life easier and your home more functional and beautiful.
Frequently Asked Questions
1. How long does it take to assemble an IKEA KALLAX unit?
The assembly time depends on the size of the unit. A 2×2 IKEA KALLAX usually takes 30 to 60 minutes, while larger units like 4×4 or 5×5 can take between 90 minutes and 3 hours. Having the correct tools and an extra pair of hands can significantly reduce assembly time.
2. Why is my IKEA KALLAX wobbling after assembly?
A KALLAX unit usually wobbles because it was assembled on an uneven floor, some screws are not evenly tightened, or the unit was not properly levelled during installation. Checking the floor surface and using a spirit level can often solve the issue.
3. Do I need to secure my IKEA KALLAX to the wall?
Yes. IKEA recommends securing larger KALLAX units to the wall, especially in homes with children or pets. Wall anchoring improves safety and helps prevent furniture tipping accidents.
4. What are the most common KALLAX build mistakes people make?
The most common mistakes include assembling on carpet, installing panels backwards, over-tightening fasteners, skipping levelling checks, forgetting wall anchors and placing heavy items on the top shelves.
5. How do I properly level an IKEA KALLAX unit?
Use a spirit level to check the top surface, side panels and overall alignment before loading the shelves. If the floor is uneven, furniture shims can help create a stable and level foundation.
6. Can one person assemble a large IKEA KALLAX bookshelf?
Smaller KALLAX units can usually be assembled by one person. However, larger units such as 4×4 and 5×5 models are much safer and easier to assemble with two people to avoid alignment issues and accidental damage.
7. What tools do I need to assemble an IKEA KALLAX unit?
Most KALLAX units require a screwdriver, rubber mallet, spirit level, measuring tape and wall fixing hardware suitable for your wall type. Having these tools ready before starting can speed up the process.
8. Is professional IKEA KALLAX assembly worth it?
Professional assembly can save time, reduce mistakes and ensure the unit is safely installed and properly levelled. Many homeowners choose professional IKEA KALLAX assembly services for larger units or multiple furniture installations.
9. How much weight can an IKEA KALLAX shelf hold?
According to IKEA product guidelines, each shelf insert can generally support approximately 13 kg when weight is evenly distributed. Avoid overloading individual compartments or placing all heavy items on the upper shelves.
10. Where can I book IKEA KALLAX assembly in London?
If you are searching for reliable ikea kallax assembly London services, choose an experienced furniture assembly specialist who can safely build, level and secure your KALLAX unit according to IKEA guidelines.